
How to install attic insulation
By Insulation Report Editorial. Last reviewed August 2026. How we research this.
In brief
Installing attic insulation is four steps in a fixed order: air seal the ceiling plane, fit baffles at every soffit bay, staple depth markers to the joists, then blow or lay the material to the marks. The order is the part that matters.
Sealing has to happen while the gaps around light fittings, the plumbing stack and top plates are still reachable, and baffles have to go in before loose fill can drift into the eaves and block the airflow that dries the roof deck. Both steps are cheap and both become expensive the moment depth buries them.
Work to a target R-value for your climate zone rather than to a number of bags, keep material clear of any recessed fixture not rated for insulation contact, and wear a fitted respirator throughout. The finished job should read as an even blanket, not a drifted one.
This page is the detail behind the sequence set out on the guides hub. It assumes you already know your target: if you do not, the calculator takes your ZIP and floor area and returns it.
Before you start: the two things that stop the job
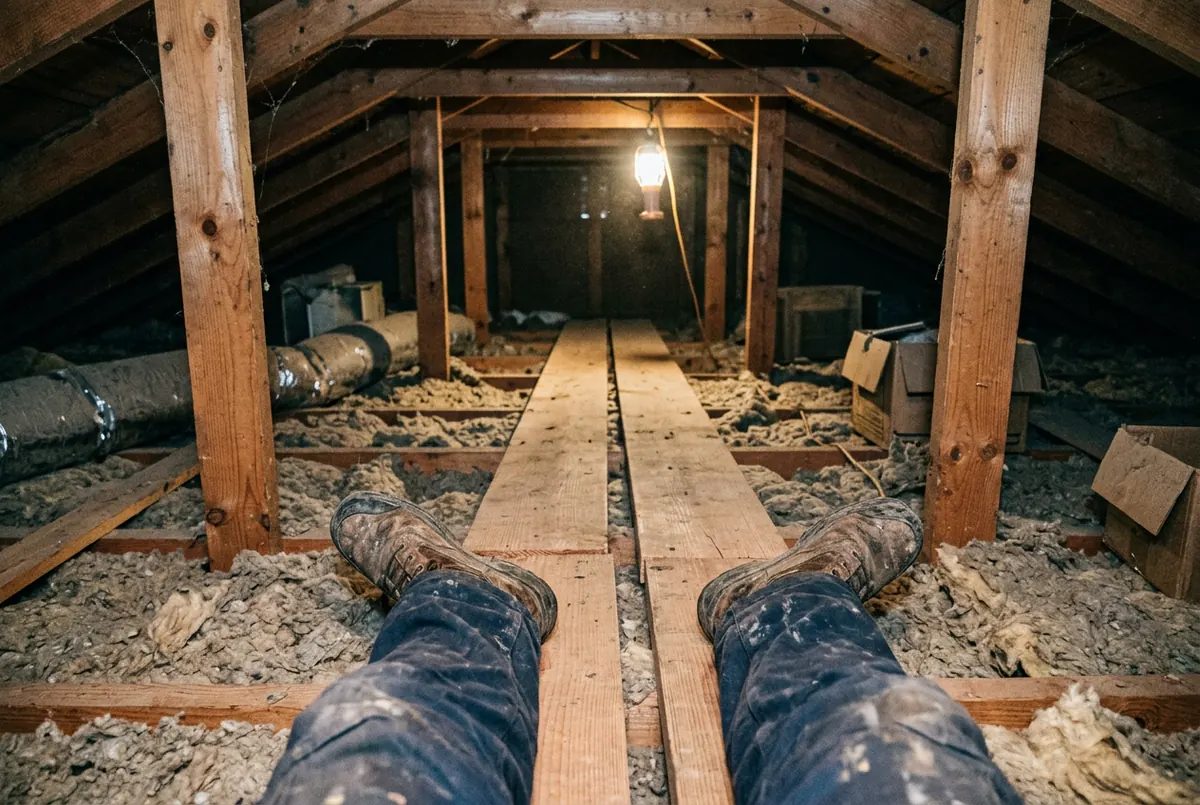
Two planks, before anything else goes up the ladder
There is no floor up here. A plank across the joists is what keeps a foot out of the ceiling below, and it is the difference between a slow job and a drywall repair.
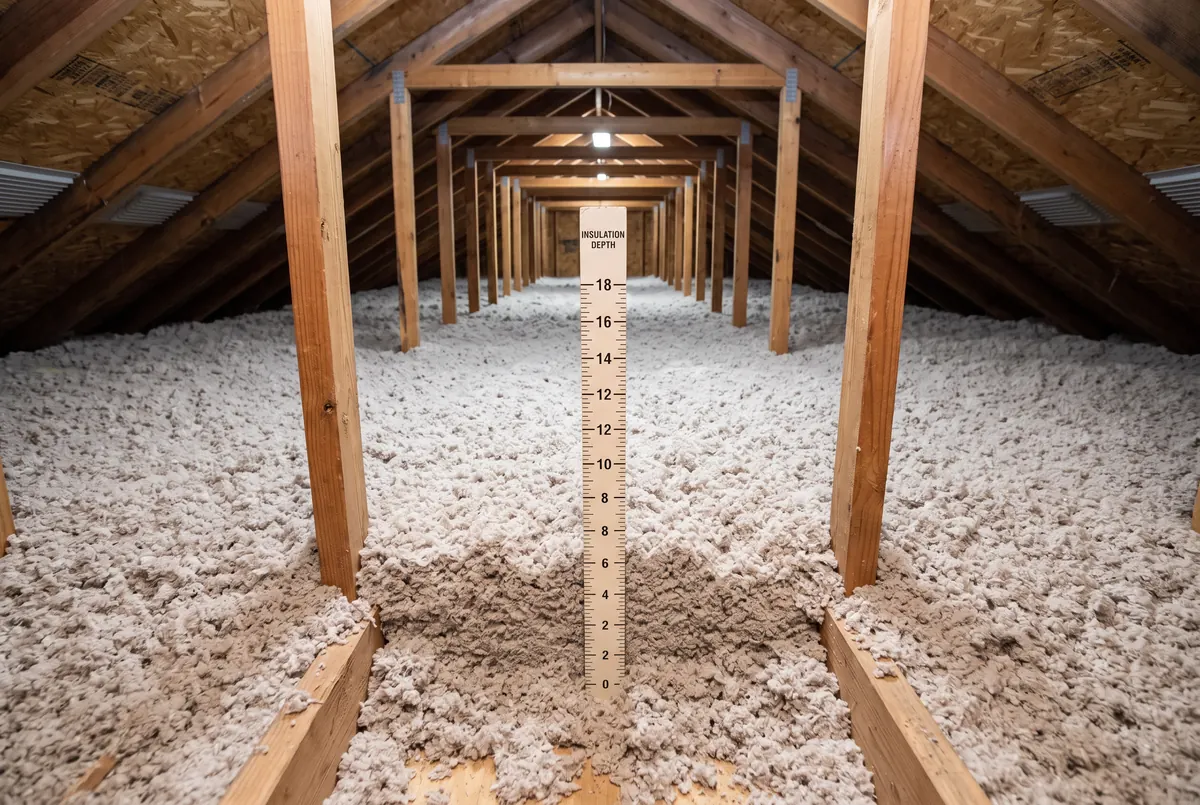
What a finished job looks like
Even depth across the whole floor, no drifts and no bare patches, with the depth markers still standing and readable so the installed depth can be checked afterwards.
Two findings mean the work does not begin today, and both are cheaper to discover from the hatch than halfway through.
- Loose, pebble-like gray-brown granules. That can be vermiculite, which should be assumed to contain asbestos and left undisturbed. The vermiculite page explains why leaving it alone is usually the correct first action, and it is a separate licensed trade.
- Droppings, nesting, staining or a smell that returns when the attic heats. Contaminated material comes out before anything goes in, and the entry points get sealed first, or you pay for the same job twice. See rodent contamination and mold in attic insulation.
Step 1: air seal the ceiling plane
This is the step with the best return per dollar and the one most often skipped, because it is invisible in a finished job and easy to leave out of a bid. Insulation resists conduction. It does close to nothing about air moving through a gap, so depth over an unsealed ceiling underperforms its label, and the warm indoor air pushed up into a cold attic carries the moisture that produces frost on the sheathing. The list below covers what to seal in the order you will meet it; the air sealing page has the full leak inventory ranked by how much each one leaks, what to seal each with, and why the flue is the one place foam must not go.
Work around the whole ceiling, not just the obvious spots. Three come up first. The attic hatch, which is a hole in the middle of the job and wants weatherstrip plus insulation on its back. The gaps at the tops of interior walls where they meet the ceiling. And the holes for the plumbing vent stack and any flue. The flue gets the clearance and the non-burning materials its own listing requires, never foam. The air sealing page carries the full list, what to close each opening with, and the fire-blocking rule.
Step 2: baffles at every soffit bay
A baffle holds a clear channel against the underside of the roof deck so air can pass from the soffit vent up into the attic. Without one, loose fill drifts into the eave and blocks that path, and a well-insulated attic ends up with a damp deck. Fit them at every bay that has a vent below it, not just the ones nearest the hatch, and make sure they extend past the depth you are about to add rather than stopping level with it. The baffles page covers the material choices and the retrofit case, where the insulation has to come back off the eaves first.
Step 3: depth markers
Cut cards marked with your target depth and staple them to the joists at intervals across the whole floor, including the far corners. This is how a professional job stays even and how you prove afterwards that it is. Blowing to a marker you can see beats checking a ruler you have to crawl back for, and the markers stay in place as the evidence for anyone who inspects the attic later.
Joists give you a rough check even before the markers go up. Ceiling joists are dressed to 5.5, 7.25, 9.25 inches deep for nominal 2x6, 2x8 and 2x10 lumber under the American Softwood Lumber Standard PS 20, so if you can see the tops of them, the material is shallower than the framing. On the deepest of those, that is only about R-20 to R-24 in blown fiberglass, short of the recommendation in every climate zone.
Step 4: the material
Work from the point furthest from the hatch back toward it, so you are never crawling over finished work. Keep the hose moving to avoid drifts, and check the markers as you go rather than at the end. Two rules that are not stylistic:
- Keep clear of any recessed fixture not rated for insulation contact. An IC-rated fixture is marked on the label inside the housing. Anything else needs the clearance its label and the electrical code require, which normally means a rigid dam. This is a fire question.
- Never bury a vapor facing between two layers. If you are adding batts over existing material, use unfaced. A kraft or foil facing belongs against the ceiling below or nowhere.
Scale, for a sense of the volume involved: a 1,200 square foot attic taken to R-60 needs roughly 38 bags of Owens Corning AttiCat blown-in fiberglass, 27.5 lb bag, at that product's published coverage. Every product differs and the bag label is the authority. The blown-in page covers the machine and the settling arithmetic in detail.
The ten-minute inspection
Whether you did the work or paid for it, this is how you check it. Take a torch and look for five things.
| Check | Pass | Fail |
|---|---|---|
| Evenness | A flat blanket at marker depth across the whole floor | Deep near the hatch, thin at the far end and the corners |
| Depth markers | Still visible, and the material reads level with them | Absent, or buried well below the surface |
| Eaves | Baffles in place, a clear channel above each soffit vent | Material packed into the eave, no baffle visible |
| The hatch | Insulated on its back and weatherstripped | Bare plywood, or material simply piled around the opening |
| Fixtures | Non-IC fixtures dammed and clear | Material heaped against or over an unrated fixture |
Do it yourself, or hire? A short test
Work down. The first row that matches is your answer.
| If this is true | Then |
|---|---|
| Vermiculite suspected, or contamination present | Stop. Separate trade, and not a do-it-yourself job at any scale |
| Knee walls, cathedral slopes, or clearance too low to work in | Hire. Access defeats the rental route before cost enters into it |
| Old or unknown wiring, or several non-IC fixtures | Hire, or get an electrician in first |
| Eaves need baffles and the ceiling needs sealing | Hire unless you intend to do those two steps properly yourself |
| Open, walkable attic, already sealed and baffled, adding depth only | Do it yourself. This is the case renting is for |
The do-it-yourself comparison works the money side of that decision through, including what renting saves once equipment and disposal are counted.
You may not need to do this at all
Measure before you plan. If the attic is within about R-10 of the level recommended for your zone, which is this site's estimate rather than a measurement, more depth is a slow payback and step one on its own is the better project. Insulation has strongly diminishing returns, and the last few R-values repay far more slowly than the first ones. We do not sell insulation and we do not install it, which is why this page can tell you to stop after the cheap step. The depth checker turns a measurement into an R-value range in about a minute.
Get quotes for attic insulation
If the test above came out as hire, tell us the job and your ZIP. We pass it to a licensed contractor who works in your area.
A marketing service, not a licensed contractor. Insulation work is performed by independent licensed local contractors.
- What does it cost?
- A 1,200 square foot attic blown to R-49 runs about $2,600 to $3,200 installed, from this site's own cost model dated August 2026. Two of its parts are estimates, so read it as a range and not a quote. See the full working and the price by attic size.
- What happens next?
- Your request goes to a licensed insulation contractor near you, usually within about an hour during the day.
Related
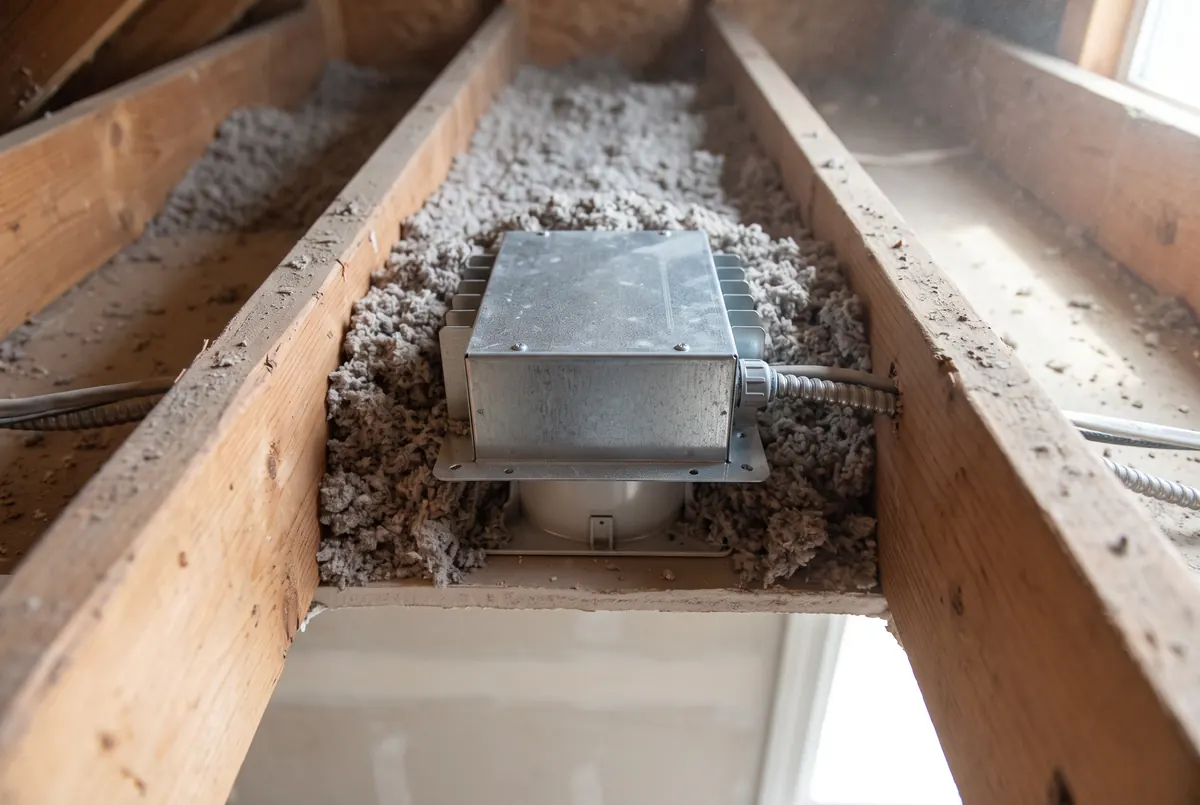
Fixtures get their clearance before anything is buried
A housing not rated for insulation contact needs the clearance its own label sets. A cover holds that clearance so the depth can run over the top of it.
Common questions
What is the correct order for installing attic insulation?
Air seal the ceiling plane, fit baffles at the eaves, staple depth markers to the joists, then add the material. The order matters more than the material choice. Sealing has to happen while the gaps around light fittings, the plumbing stack and top plates are still reachable, and baffles have to go in before loose fill can drift into the soffit vents. Both are cheap, both are fiddly, and both become expensive once depth has buried them. Depth last is the only sequence that does not create rework.
Do I need to air seal before insulating?
Yes. It is the step with the best return per dollar. Insulation slows heat through material and does almost nothing about air moving. So a ceiling full of unsealed holes leaks heat no matter how deep the material above it is. Warm indoor air pushed up into a cold attic also carries moisture. That is where frost on the sheathing and mold problems start. Sealing afterward means moving material you already paid for. So this is one of the few real do-it-first rules in the trade.
How do I know how deep to go?
Work to a target R-value, then to depth markers, not to a ruler you carry around. ENERGY STAR recommends a total of R-30 in zone 1, R-49 in zones 2 and 3, and R-60 in zones 4 through 8. Turn that into inches for your material. Staple marked cards to the joists across the attic before you start, then blow to the marks. Loose fill settles, so its R-value does not track depth exactly. That is why installers work to the bag coverage chart as well as the depth.
Can I put insulation over recessed lights?
Only over fixtures rated to touch insulation. Those are marked IC on the label inside the housing. A fixture without that rating needs the clearance its own label and the electrical code call for. That normally means building a rigid dam around it rather than burying it. This is a fire question, not a performance one. If you cannot read the label, or cannot tell, keep material well clear and ask an electrician before you cover it.
What safety equipment do I actually need?
A fitted respirator, not a dust mask. Sealed eye protection. Gloves and long sleeves. And boards to kneel on, so you only ever step on framing. Both fiberglass and cellulose irritate your lungs in a hot closed space. Know where the rules sit. The federal breathing protection standard binds an employer over its crew. A homeowner in their own attic is outside it. So on a rented machine, protecting yourself is entirely on you.